A recent post on OTN related to the installation of JDeveloper on Linux is the inspiration for this FAQ. Let's go over the installation then and discover on the way how difficult or - as it turns out - how easy it is.
Main Theme
Start by downloading the latest version of JDeveloper - at the writing of this, it is 11.1.1.3.0 - from the Oracle JDeveloper Downloads web page. This download page can be accessed directly by typing the following address on your browser: http://www.oracle.com/technetwork/developer-tools/jdev/downloads/soft11-098086.html.

Once the download is done, open a terminal window and go to the directory where the installation package file resides. Ensure that you have given read and execute permissions to the installation auto-extraction package file and start its execution by typing ./jdevstudio11113install.bin, where jdevstudio11113install.bin is the name of the downloaded installation package filename. This will start the unpacking of the installation package and upon completion it will present the Welcome installation page.

Note that if you are having trouble seeing the Welcome page in graphical mode, ensure that the $DISPLAY environment variable is set correctly.
Click Next to proceed to the Choose Middleware Home Directory page and possibly accept the default Middleware Home Directory proposed by the installation program, namely Oracle/Middleware.

In the Choose Install Type page you can choose Complete to install all available components, that is JDeveloper, ADF support and the WebLogic Server. This would be fine, unless you want to selectively install certain components only.

Click Next and confirm the installation directories in the Confirm Product Installation Directories page. Confirm and click Next once more to proceed to the Installation Summary page.

Review the installation summary and when ready press Next to proceed with the installation.

The installation will start and upon a successful installation you should see the Installation Complete page. Uncheck the Run Quickstart checkbox and click Done to exit.

That's all there is to it.
To start JDeveloper, go to the /jdeveloper/jdev/bin directory under the Middleware Home you selected during the installation and type ./jdev
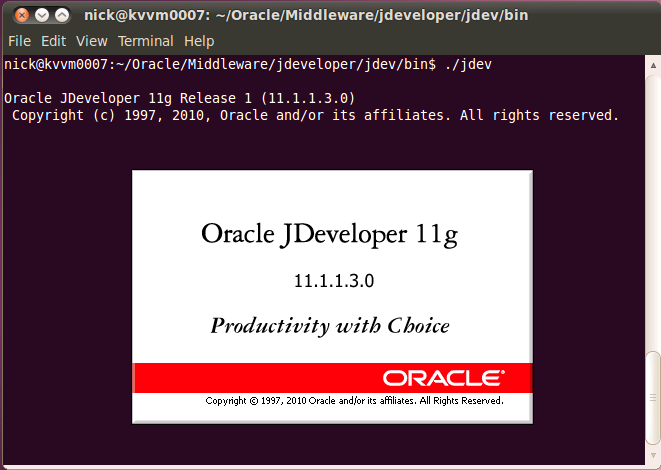
JDeveloper should start.

You are know ready for developing your applications on Linux using JDeveloper. To make things easier create a shortcut to the specific file on your Linux desktop if you prefer.
Conclusion
As it turns out, installing JDeveloper on Linux is very simple. Simply download the Linux version of the JDeveloper installation package and run it. Follow the directions presented during the installation and when done, start JDeveloper by running the jdev executable in the /jdeveloper/jdev/bin directory.
Until the next time, keep on JDeveloping (on Linux)!
 |  |